 This week I scraped all of soil bacteria off of the agar plates, extracted DNA from the samples, prepped and put the gDNA samples through PCR, checked the PCR results using gel electrophoresis, put another set of gDNA samples through another round of PCR, combined all of the resulting amplicons and prepped them for sequencing, took the samples to a sequencing center to be sequenced, prepped a mapping file on Excel, met with Jennifer to discuss my project and this upcoming week’s newsletter, and did some Rstudio training. In the communication workshop, I learned what effective figures look like and how to write and present the results section of a scientific paper.
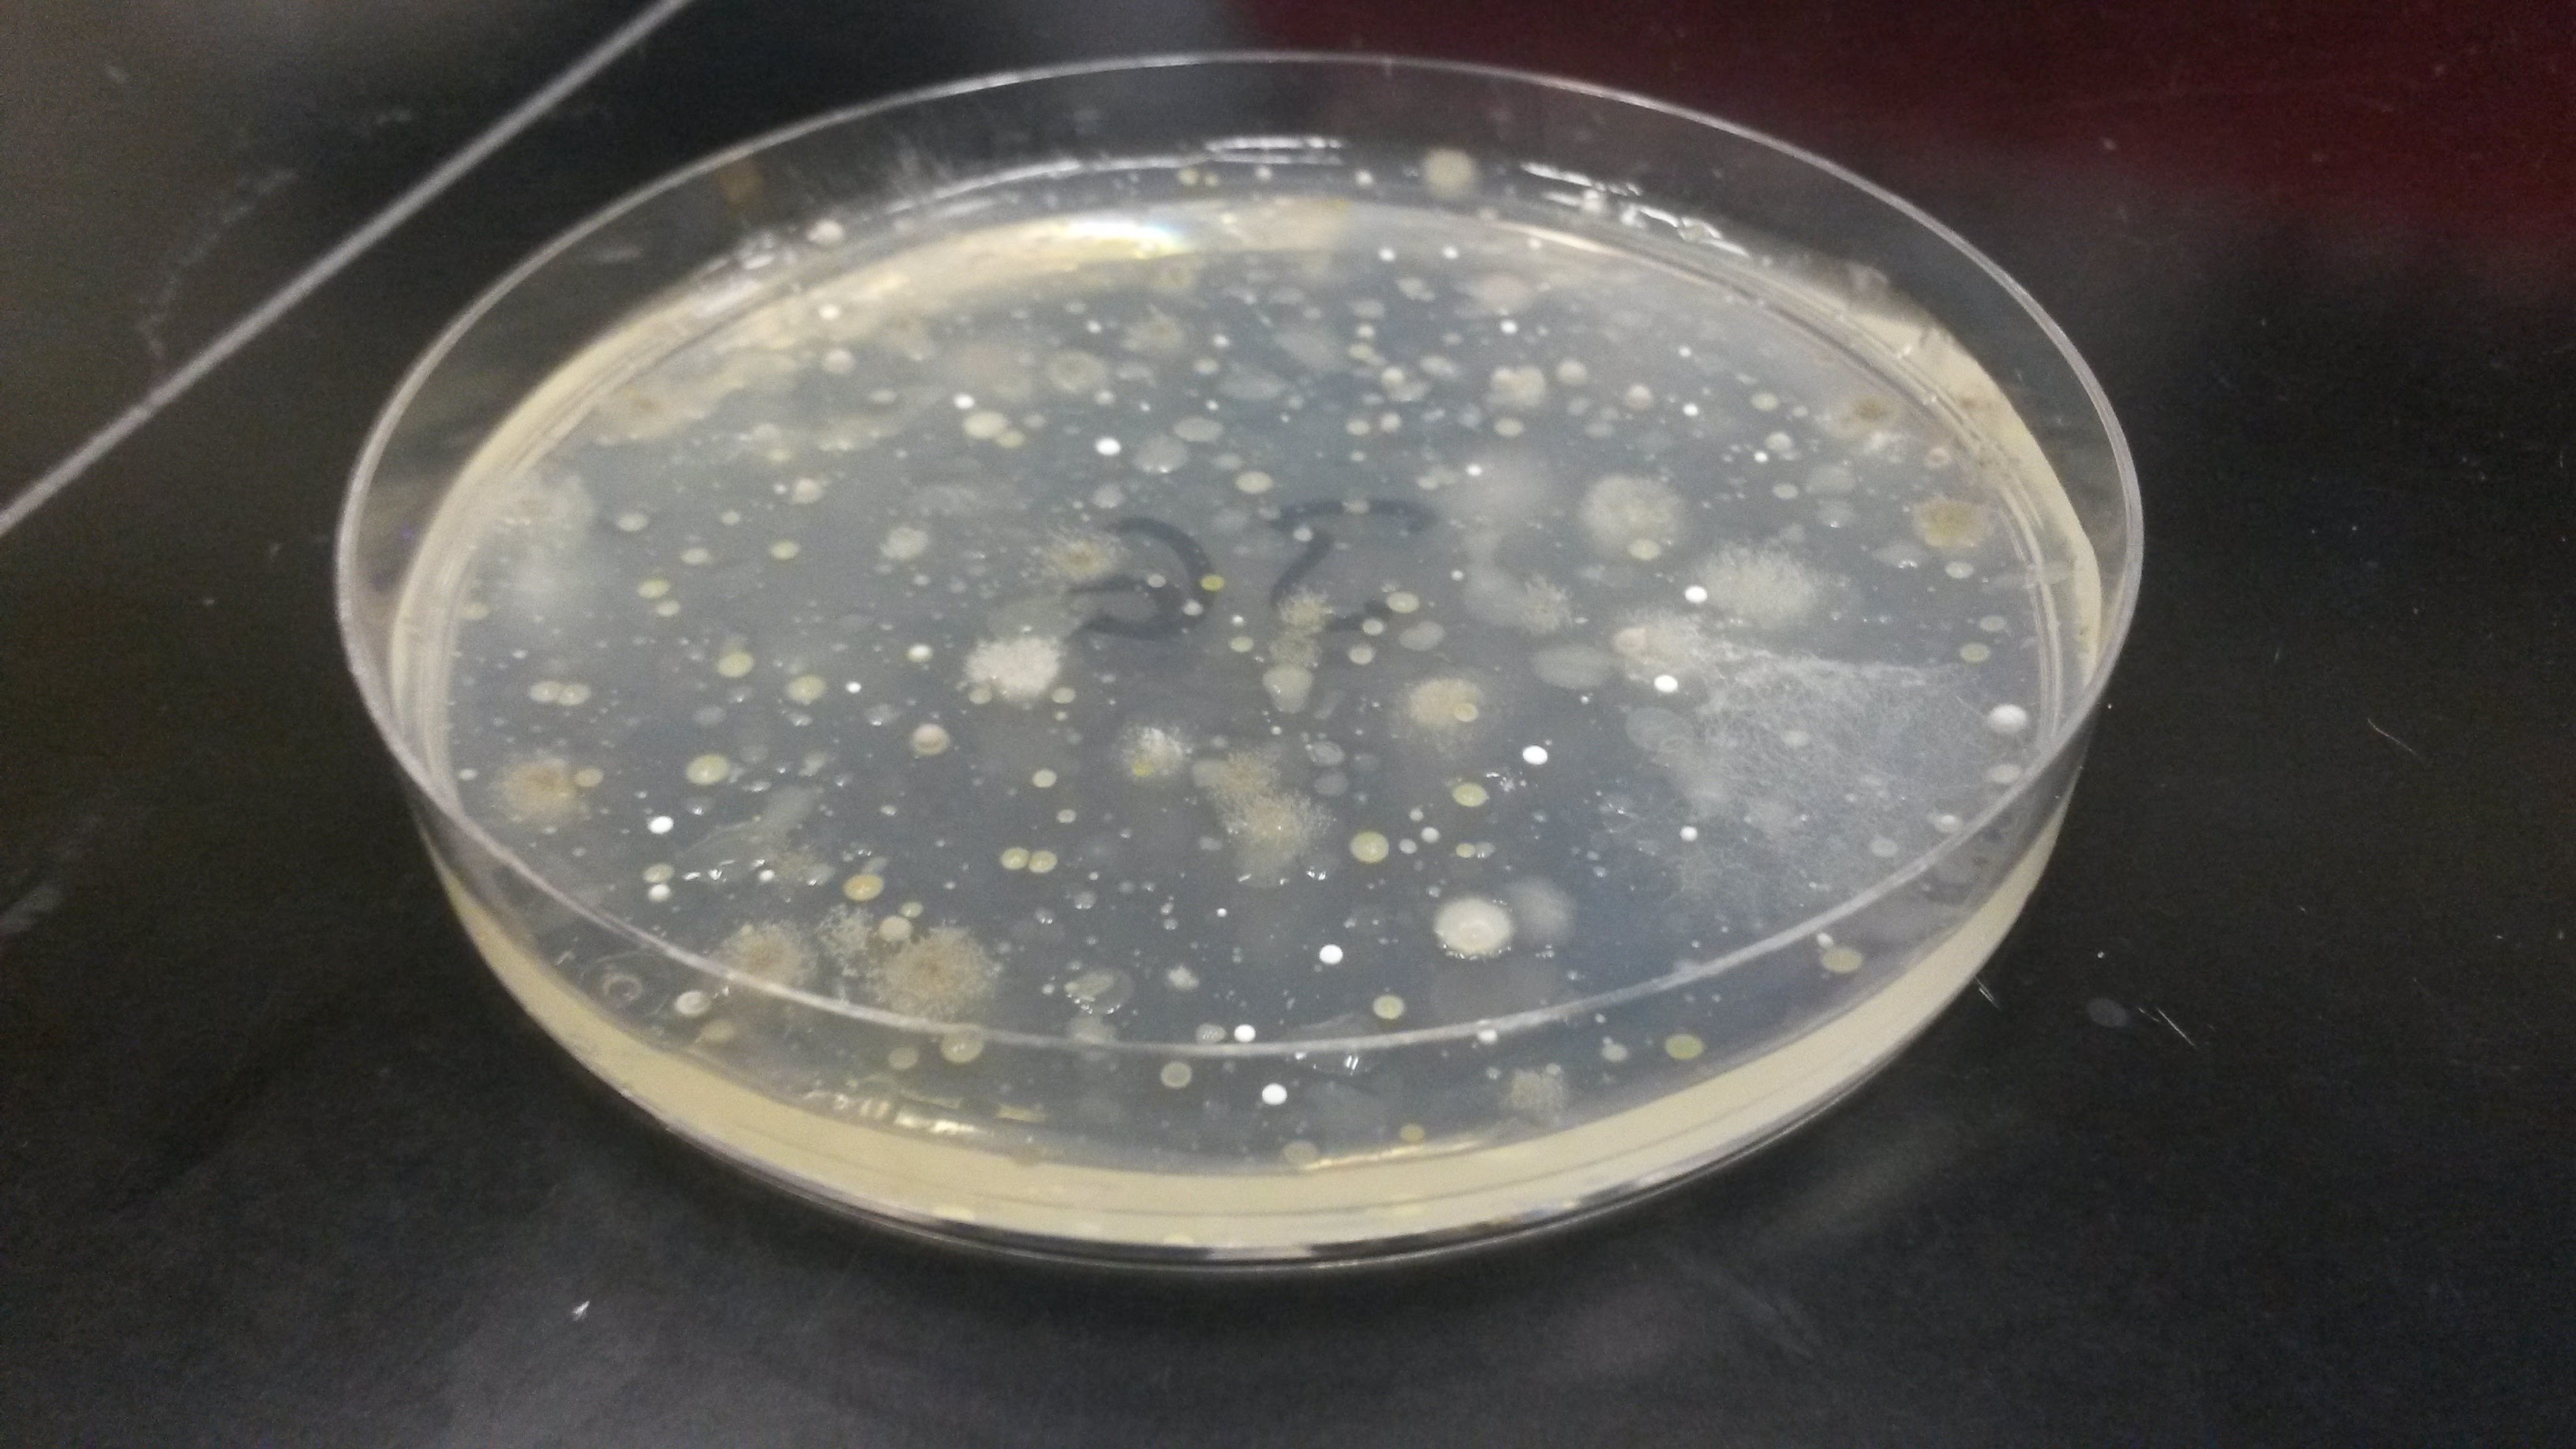
This week I made a major mistake. After scraping a bacteria sample off of the agar plate it was cultivated on, an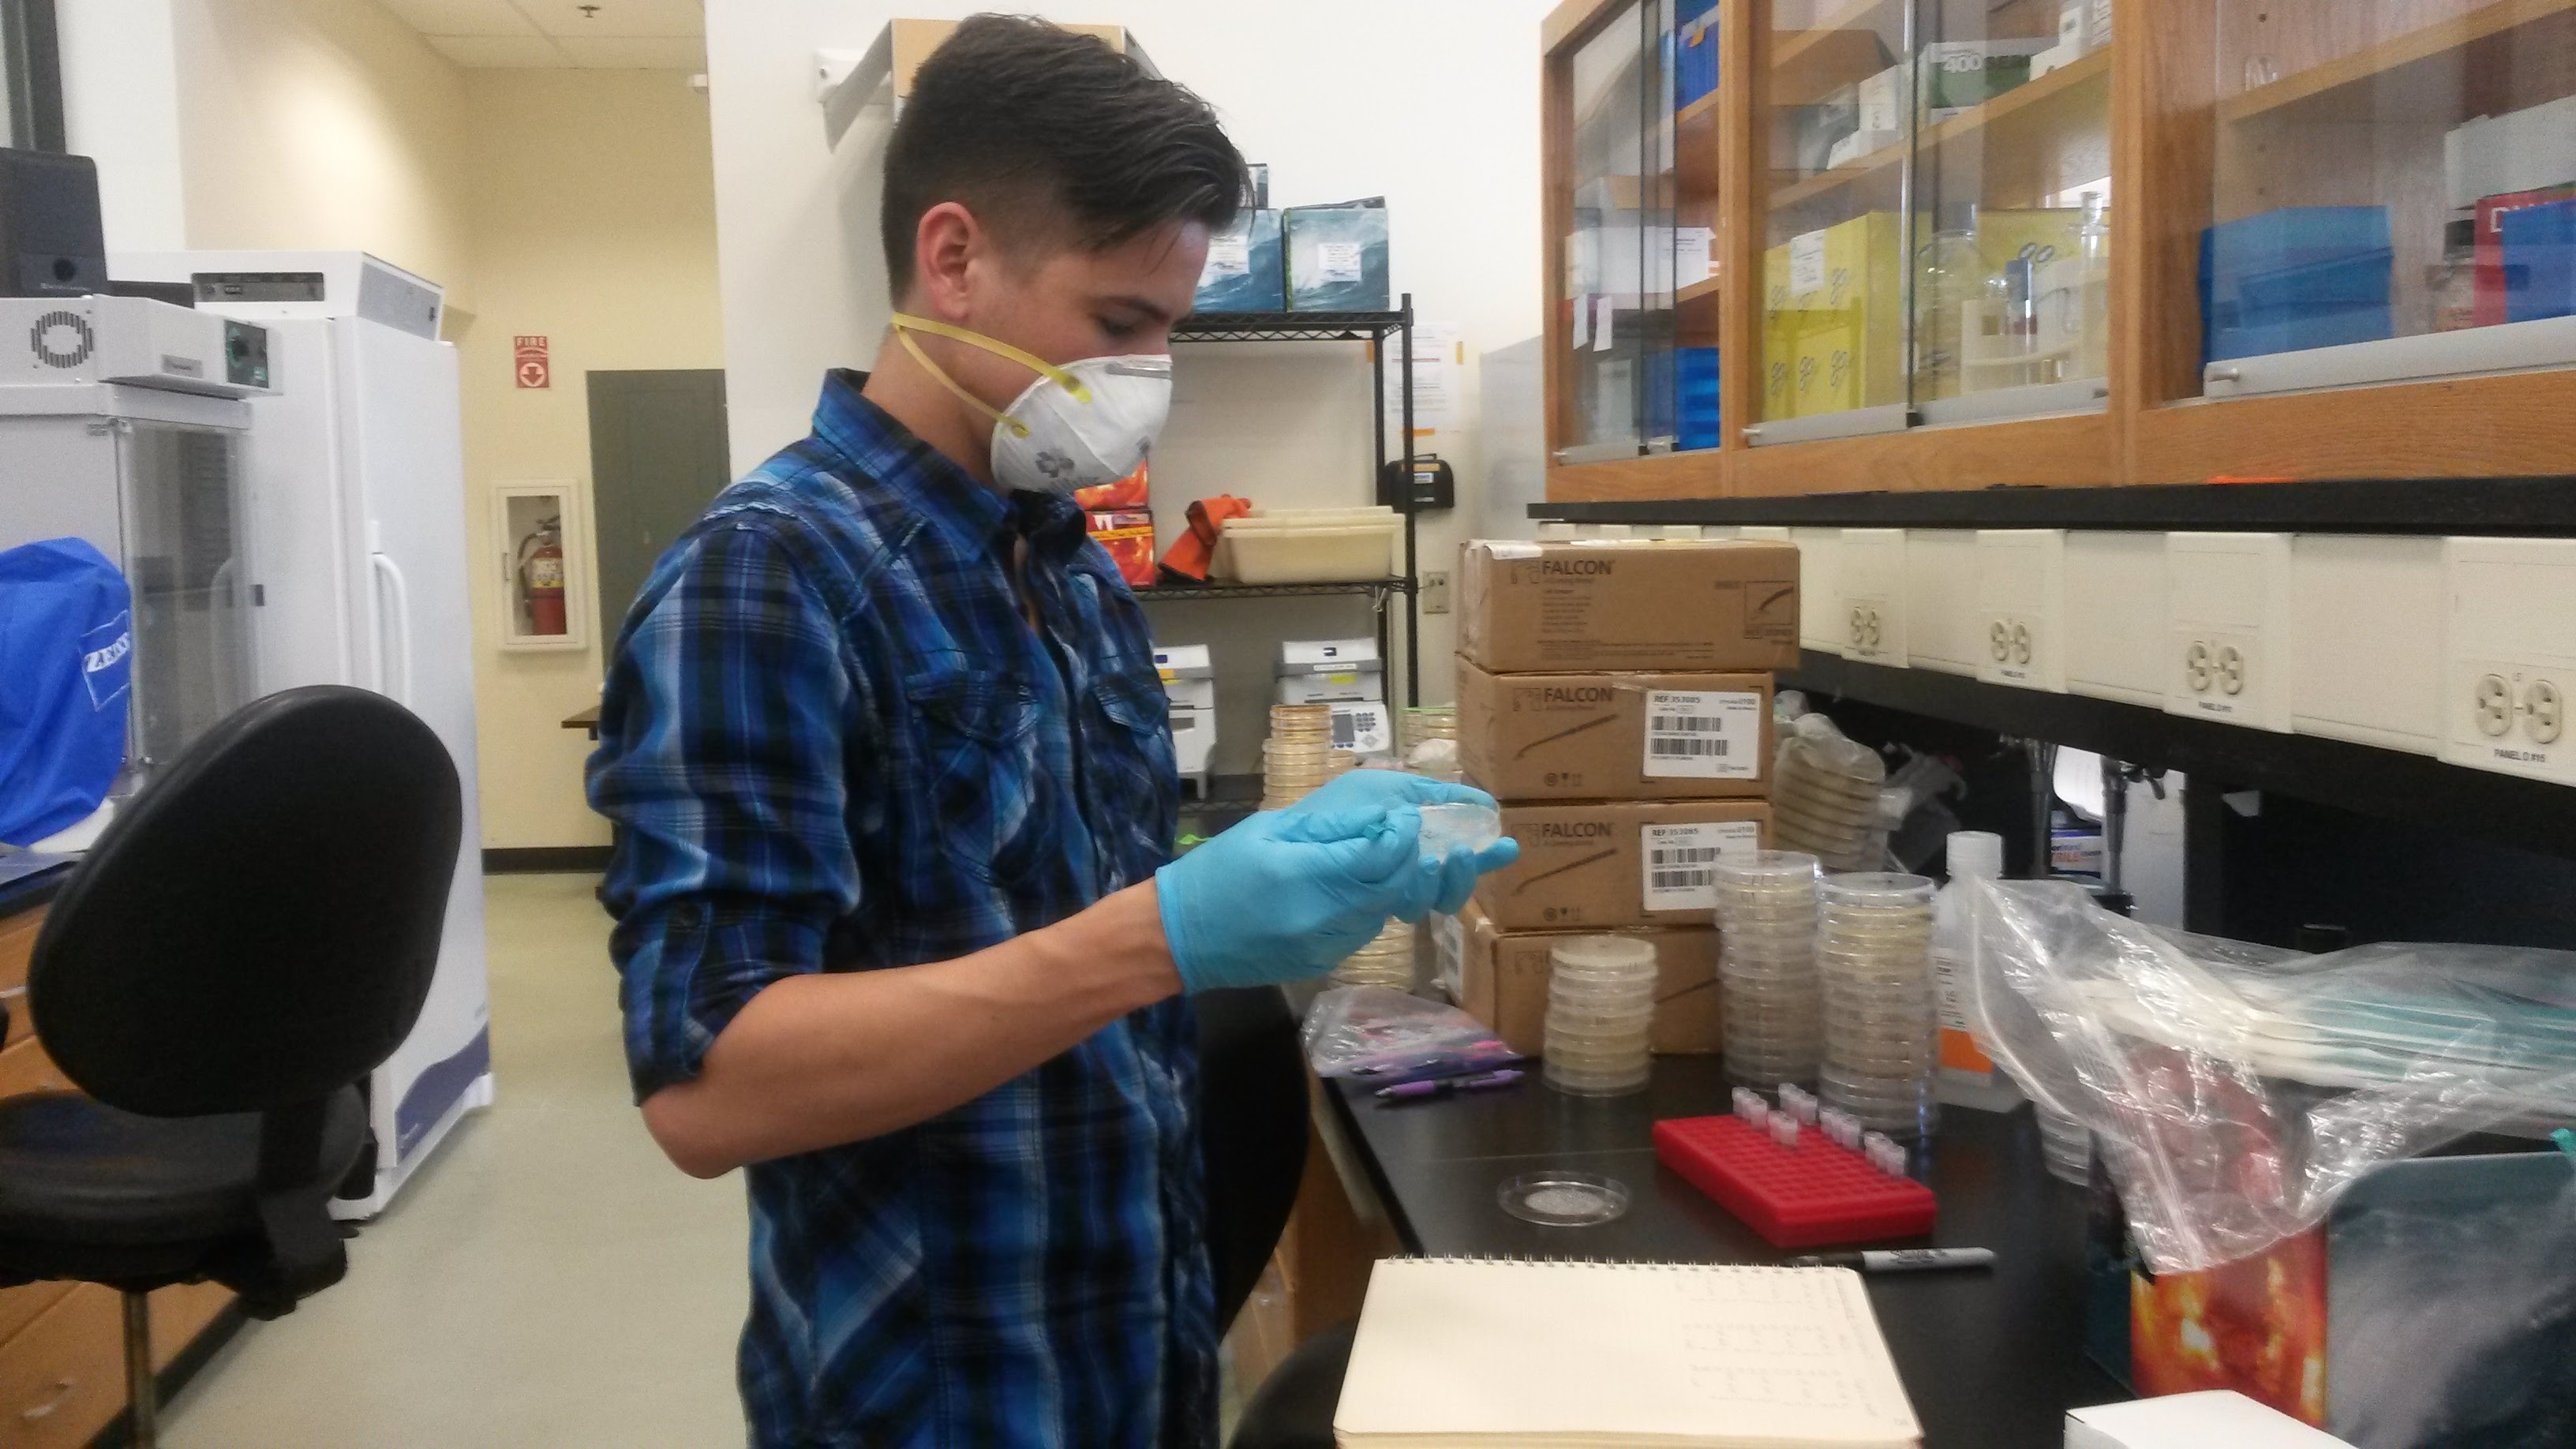 applicator that looks a lot like a large Q-tip is used to absorb all of the bacteria into a cotton tip which is then cleaved off and placed in a 2 mL tube. This tube is then used in the first step of DNA extraction. DNA extraction consists of several steps – bursting the cells open to get their DNA into solution and then successive steps are used to isolate the DNA from all other organic and nonorganic substances. Each step requires a new 2 mL tube, resulting in 6 total tubes per sample. The last tube will have the isolated DNA. It’s important when performing this procedure to label the last tube (the 6th one) really well since this is where the DNA will be stored.
 In previous extractions I would simply just number the tubes for each sample and include a key in my lab notebook to differentiate them. I noticed that the DNA extractions that Tess performed were labelled differently and in such a way that it was easier to identify them faster. For example, for a tube containing north-facing slope soil bacteria that did not undergo the ethanol treatment and was cultivated on an agar plate with the addition of peptidoglycan fragments – she labelled it as “P-NF-NSP1”. “P” stood for “peptidoglycan”, “NF” stood for “north-facing slope”, “NSP” stood for “not spore selected”, and “1” indicated which replicate the sample came from (was labelled 1, 2, or 3). In an attempt to be better about labelling, I decided to model myself
 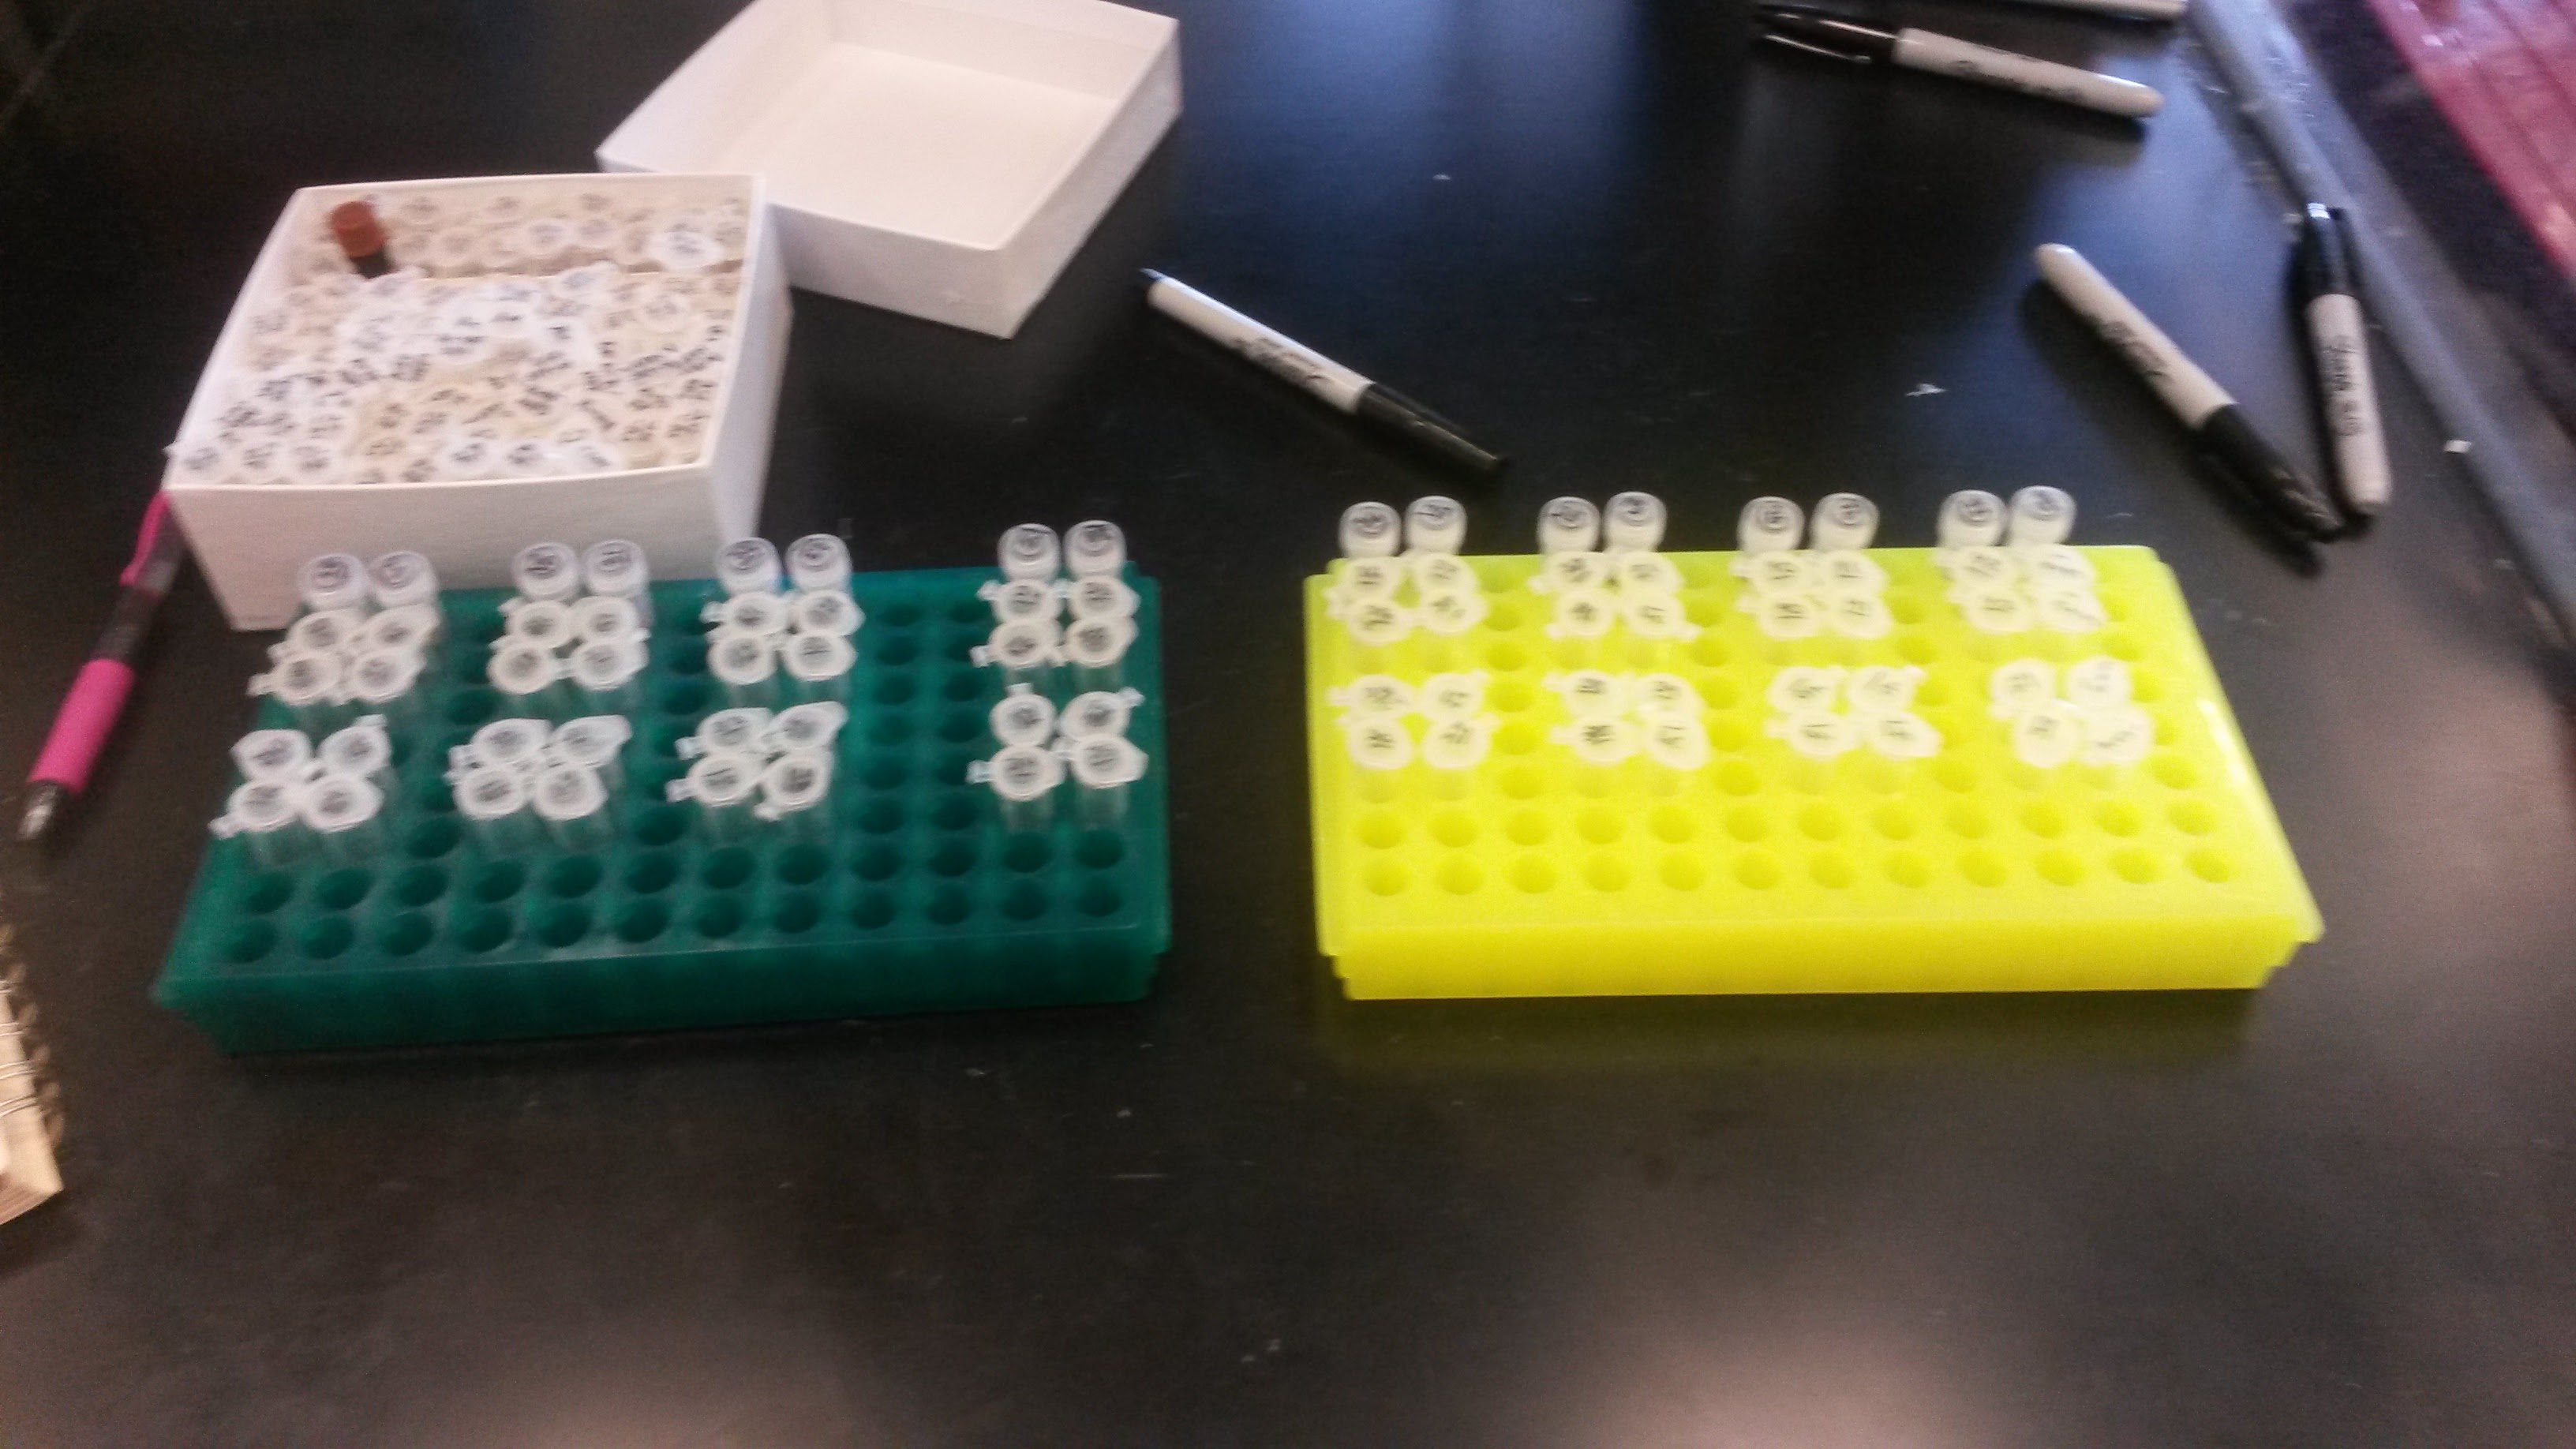 after her. I labelled the last tubes in my extraction as “CY-NF” or “CY-SF” to indicate “cyclic AMP” and “north-facing slope” or “south-facing slope”. I did not, however, include whether or not these samples had undergone ethanol treatment (“SP”) or not (“NSP). I didn’t realize that this would be a problem until I was on the very last step of the extractions and placed the last tubes with these labels into the centrifuge. There were 6 samples with the label “CY-NF” and 6 with the label “CY-SF”. My heart sank once I realized that there was no way for me to differentiate which half of these samples had undergone the ethanol treatment and which ones hadn’t. I began to panic realizing that there was no way to turn back. The sequencing run was scheduled later in the week and there was no time to make new agar plates, incubate the bacteria again, and to perform the extractions again.
I immediately told Tess what happened and she was incredibly understanding. She told me to take this mistake as a lesson in the importance of labeling as specifically as possible. The good news was that visibly when observing the agar plates, there were noticeable colony differences between plates with soil bacteria that had undergone the ethanol treatments in comparison to those that hadn’t. More than likely the sequencing results will show differences in microbial composition between the two conditions. This definitely gave me some peace of mind. We will not, however, be able to determine which replicate number the samples were. I tried my best not to be too hard on myself for making a mistake that was entirely preventable.
I definitely learned that it’s important not to get too wrapped up in the procedure of an experiment and to understand fully what’s happening conceptually. I had completed the first round of PCR for all of the soil bacteria DNA extractions and performed gel electrophoresis to verify the presence of amplicons for each sample. Every other occasion that I had completed gel electrophoresis, Tess took the PCR tray with all of the amplicons and stored them somewhere – a step in our experimental procedure that I hadn’t discussed with her or seen. After I had finished the gel electrophoresis, I messaged her on my computer to ask her if it was OK for me to toss the PCR plate I had made. My rational behind this question was that we had a separate tray in a freezer that contained all of the DNA extractions already. Tess came into the lab and told me that we should definitely NOT throw the PCR plate because the amplicons were what would be used to sequence, not the DNA from the extraction tray. I felt stupid for a moment, realizing that there was a major gap in my understanding of the procedure. Thankfully, I didn’t toss the PCR products without asking, so this misunderstanding didn’t result in any problems with the experiment – but I realize how I could have answered this question myself if I had simply thought about what the PCR tray represented conceptually. I was mixing up two different terms: gDNA, which is simply the DNA extracted from the bacterial samples, and amplicons, which are copies of a specific gene from all the samples that results from performing PCR on the gDNA. I give myself some credit for being abruptly placed in a professional setting with a plethora of terminology I haven’t ever used before and still managing to catch on relatively quickly to the experimental procedure, but I certainly know now that I need to slow down and really make sure that I understand what every component in the experiment is and what is happening at each step of the procedure.
 To be honest, this week was a rough one for me. There was a lot of pressure to get everything prepared in time for the sequencing run on Thursday which required me to do laboratory techniques that I’d only performed once or a few times the week prior. I’m unquestionably proud of myself for pulling through this week and maintaining my cool in the midst of some major mistakes. It’s easy to get down on myself when I don’t perform everything to the standard that I expect of myself, but I cherish these moments for the belief that they’ll solidify my ability to persevere through unexpected adversity. I’m happy that I’m determining each day the reality that is the challenge of being a research scientist. My powerful desire to perform my experimental procedure as accurately and error-free as possible proves to me how strongly I strive to obtain results that are true to my research question. I didn’t realize just how important this project was to me until I started making some major mistakes that could seriously compromise the results. I’ve truly internalized this project as something of great value for my own personal growth and to the field of microbial ecology.
You should be VERY pleased with how much you’ve learned and accomplished, especially as you’re only halfway through the RECCS program! I’m curious to know what your research project’s DNA sequencing results show…
Making mistakes makes everyone feel stupid, but it’s how we rise to the challenge to fix them and understand.
Sometimes the best way to learn is by making mistakes. Good work learning how to be a scientist!
I agree with Jennifer, Scott-Wesley. You are doing a great job and from your posts it’s obvious that not only are you learning a lot of lab techniques, you are all learning a lot about the scientific process and yourself!